


Enquire Form
Troubleshooting Aligner Fit: Top 5 Thermoforming Errors
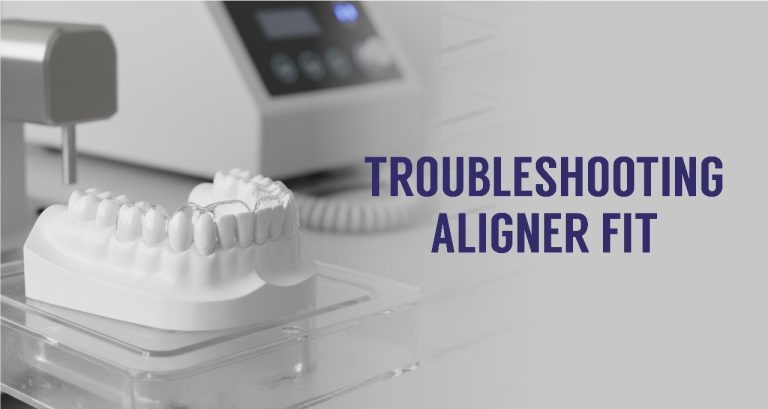
Troubleshooting Aligner Fit: 5 Common Thermoforming Errors and How to Fix Them
While planning an aligner case, you do everything right from your end. Calculate all the movements, gauge placement of attachments and stage the aligner treatment to attain predictable outcomes. But is it enough? The patient complains, the aligner is not seating properly, it’s tight near one molar, or worse, it rocks when pressed.
Mostly, the issue is with the thermoforming process of aligners. Seemingly, thermoforming isn’t a complex process, but even a tiny variation in the way the thermoforming sheet is heated, the pressure applied, or the model is prepared can completely change the way an aligner fits.
Accurate aligner fit is the most important factor responsible for the success of the aligner treatment. Optimum fit ensures that the tooth moves in the desired direction in a predicted amount of time without causing any complications.
Let’s break down the five most common thermoforming errors that can ruin aligner fit, and how to prevent them.
1. Incorrect Sheet Heating
The sheet needs to reach the right temperature evenly. If the sheet is not heated properly, it can hamper the plasticity, resulting in incomplete adaptation to model surfaces, thus the tooth surfaces. If it’s overheated, it can thin out or stretch unevenly before even touching the model. It can even cause optical changes, including cloudiness.
How to spot it:
You will see an uneven fit, maybe tight on one side and loose on the other. The aligner may also appear cloudy, saggy, or warped near the incisal edges.
How to fix it:
Calibrate the heating element regularly.
Watch for the ideal sheet sag, which differs as per the type of material.
Follow the manufacturer’s temperature and timing recommendations strictly; different sheet brands vary.
Avoid multitasking during heating; even a few seconds can make a difference. Pay careful attention to the heating of aligners.
2. Poor Model Preparation
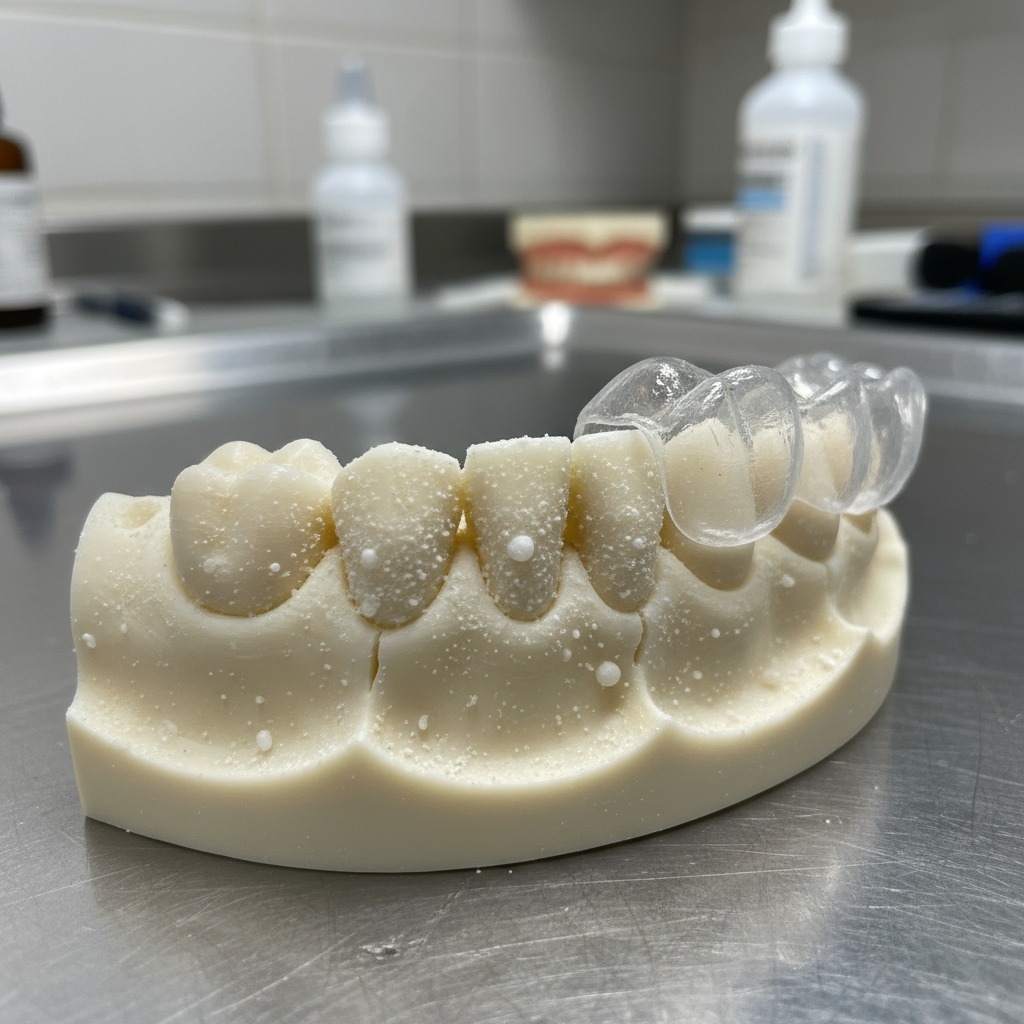
A successful aligner fabrication starts with a clean and accurate model. Any dust, resin residue, or surface roughness can prevent the plastic from sitting flush. Even tiny bumps can lead to gaps or distortions.
How to spot it:
The aligner fits perfectly everywhere except one region. You will often find a gap around an attachment or the occlusal surface of a tooth.
How to fix it:
Clean the model thoroughly; compressed air works best.
Remove any leftover support marks or undercuts from the printed model.
Ensure the surface is completely dry. Even slight moisture can trap air pockets during thermoforming.
Preparing the dental model prep as a precision task is mandatory to avoid such issues.
3. Uneven Vacuum or Pressure Distribution
Vacuum and pressure systems both rely on one thing: consistency. Any loss of suction, leak, or pressure fluctuation can lead to uneven sheet adaptation.
How to spot it:
You might notice poor definition around the gingival margins or less detail in certain regions. Sometimes, the front fits perfectly while the back lifts up slightly.
How to fix it:
Check your vacuum pump and seals regularly for leaks.
Replace worn-out gaskets.
Ensure that the pressure or vacuum time is long enough for full adaptation.
Never interrupt the forming cycle.
Consistent, uninterrupted pressure gives you the snug fit that every aligner should have in a patient’s mouth.
4. Premature Sheet Contact
Premature sheet contact happens when the softened sheet touches the highest point of the model too early (usually the incisors) before the rest of it has stretched enough. That early contact blocks proper adaptation around lower areas.
How to spot it:
The aligner looks stretched or overly thin over the anterior teeth, but lacks definition on the posteriors. Sometimes, there’s visible stress whitening in the front region.
How to fix it:
Make sure the model is centred and at the correct height inside the forming unit.
Check that the sheet is heated uniformly (this often happens when one area gets softer than the rest).
If your machine allows, slightly increase forming pressure or adjust the forming delay to ensure the sheet stretches evenly before touching the model.
A few millimetres of difference in timing or placement can make or break the thermoforming outcome for your aligners.
5. Improper Cooling Process
Once an aligner is thermoformed, it needs time to “set.” Rushing the cooling process is a common cause of warping or shape loss.
If the aligner cools too quickly, for example, due to exposure to cold water, it can develop internal stresses that distort it later. Slow cooling, on the other hand, can make the aligner too soft and flexible.
How to spot it:
The aligner fits initially but becomes loose or warped after a few hours. You might notice slight edge lifting or a mismatch when re-seated on the model.
How to fix it:
Allow the thermoformed aligner to cool at room temperature for about 1–2 minutes before removing it.
Use gentle airflow to cool, but avoid fans that blow cold air directly.
Keep newly formed aligners spaced apart. Stacking them while warm can cause shape distortion.
Remember, plastic has memory. If it cools under stress, it can easily distort.
Conclusion:
Aligner fit issues are frustrating, especially when you have done everything right on screen. But once you understand how sensitive thermoforming is, it all starts to make sense.
Every stage, from heating and pressure application to cooling, affects the final shape. It’s not just about equipment; it’s about awareness and consistency.
With calibration checks, cleaner models and a little patience during heating or cooling, you can save hours of troubleshooting later.
Getting the desired treatment outcome from aligner treatment doesn’t just stop at treatment planning; it is a result of precision, discipline, and a deep understanding of the thermoforming process.
Explore the cutting-edge thermoforming machines from Taglus. To know more, contact us now.

Know More About Us
SignUp To Our Newsletter And Get To Know More About Taglus
Taglus is the global industry leader in the manufacturing of innovative clear Aligner and retainer thermoplastic sheets.

Copyrights@taglus-2026
*Taglus is a trademark of Vedia Solutions

Leave a Reply