


Enquire Form
Bubbles in Thermoformed Aligner Sheets: Causes, Prevention and Troubleshooting
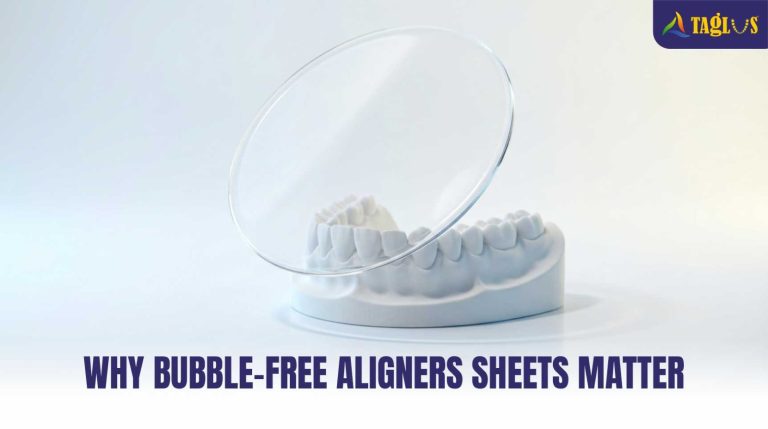
Introduction: Why Bubble-Free Aligners Sheets Matter
As every normal workflow does have a few steps which are more prone to mistakes of a few flows which give wrong outputs. Bubbles in the aligners sheet is one such error. Not inherently wrong but a compromised step which led to a substandard product
Bubbles in the aligners lead to a lot of problems when such aligners are delivered. Small to the naked eye, they create varied problems when they reach the patient. Bubbles are pockets of air which will eventually lead to seepage of fluids, they might make the material weaker, poor adaptation to the patient’s teeth eventually increase in remakes and wasted aligner sheets and eventually a delayed case result.
Due to all these dental labs and technicians should not treat bubbles as visual flaw but a quality issue. Bubbles in an aligner sheet are a common but entirely preventable defect. Let’s learn more about it.
What Do Bubbles in Thermoformed Aligner Sheets Look Like?
Bubbles appear as trapped air or vapor pockets in or on the surface of a thermoformed aligner sheet. They may show up as tiny clear specks, hazy spots, raised blisters, or clustered voids that reduce the material’s uniform appearance.
Surface blisters versus internal air pockets.
When the trapped air or vapour is trapped near the surface of the sheet it is a surface blister, it can lead to small holes or raised little domes that can be flet on your fingertips.
When this air or vapour is trapped in the sheet, they are known as internal air pockets. They cannot be felt but they are more visually prominent. They can be seen as hazy or cloudy spots. They can look okay normally but proper lighting can enhance the spots, which is very important for quality.
Small pinpoint bubbles versus larger clusters.
Since this is trapped air, it can present as small pinpoint bubbles throughout the sheet. This can be a minor problem somewhere along the process. In case these present as larger voids or a large cluster it’s a sign that somewhere along the process something is wrong.
Where bubbles commonly appear:
Where Bubbles commonly appear can tell us where we are going wrong in out process.
Repeated bubbles in the same area may indicate uneven heater output or calibration issues. Thin or stretched areas can occur when the sheet is overheated, formed too late, or exposed to uneven pressure. Bubbles at the edges and margins: May be related to poor chamber sealing, pressure loss, or inadequate material flow.
For this reason, bubble inspection should be part of routine quality control before an aligner is released.
Main Causes of Bubbles in Aligner Sheets
Moisture Absorption
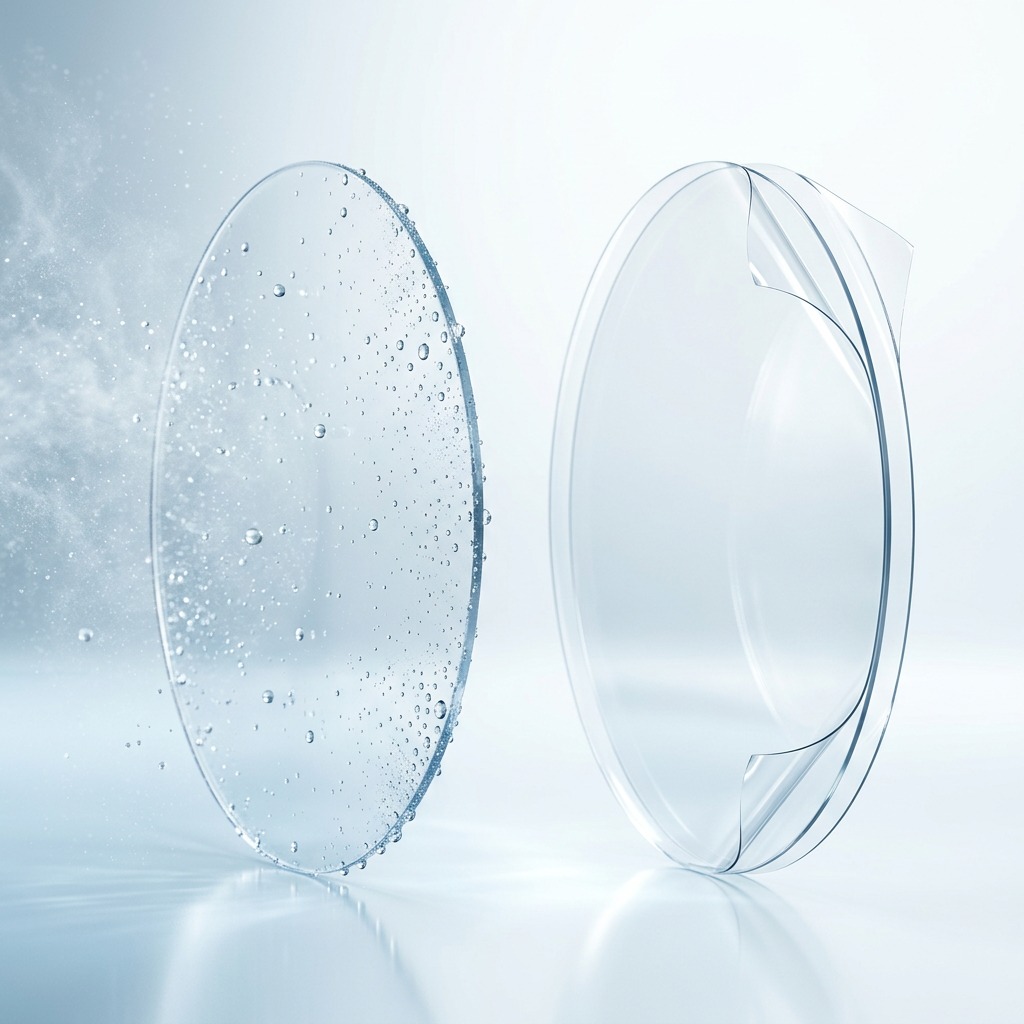
A common cause of bubbles appearing in your sheet is humidity. Some aligner materials will absorb humidity when they are taken out of their protective packaging. When this comes into contact with heat, it can cause bubbles to form as the water turns to steam.
Materials that are more prone to absorbing humidity will not have a 15-minute processing restriction due to the reduced chance of steam forming, as Taglus’ ultra-low humidity absorbing material.
Actions:
- Keep the sheets sealed until ready to use.
- Follow any instructions provided by the manufacturer.
- Do not keep sheets in a humid environment once opened.
- Use low humidity absorbing materials if there are frequent delays in your workflow.
Overheating or Excessive Heating Time
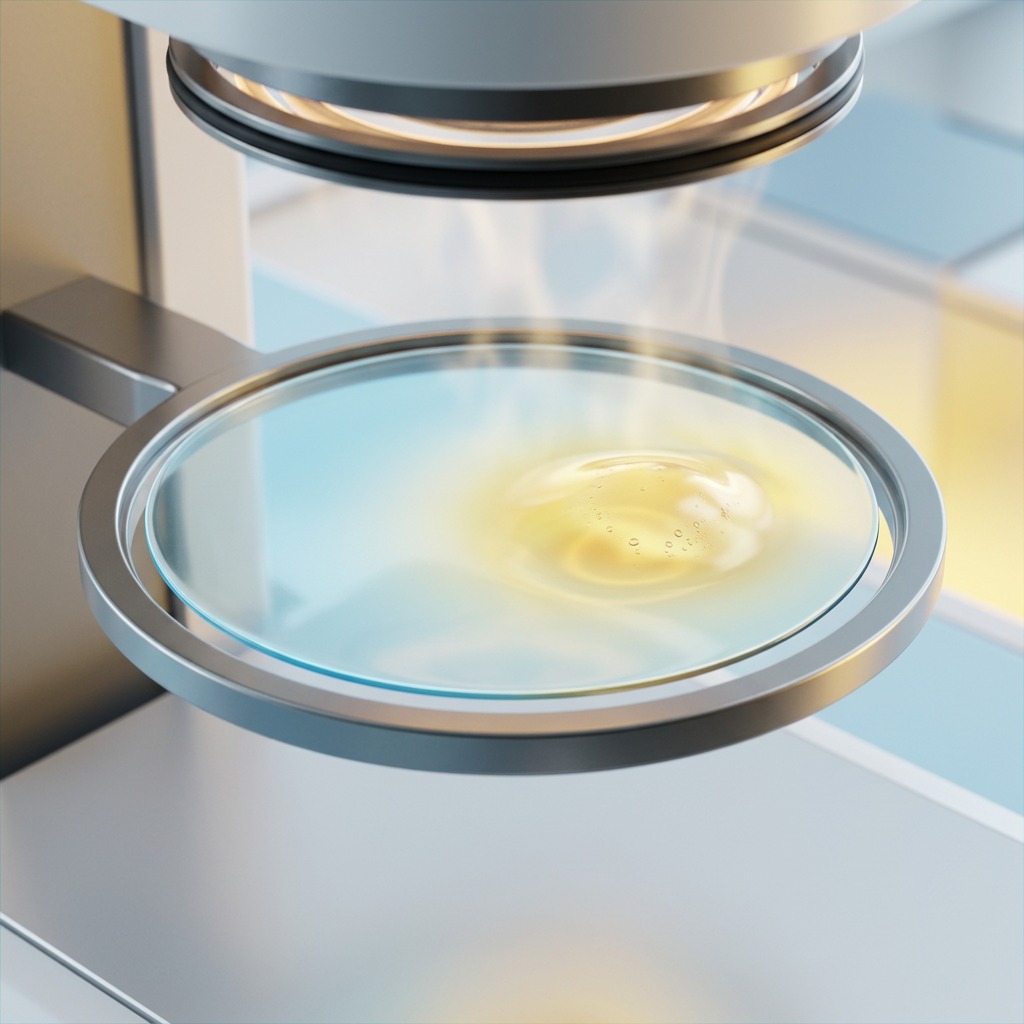
When too much heat is applied to the sheet it will cause blistering. It will look like tiny little dots on the surface or in the aligner sheet. This is because the sheet was heated too quickly or if it was placed too close to the heating apparatus.
The Taglus instructions specifically mention that if the material starts to curl, haze or bubble then the heating element should be recalibrated or the heating time reduced.
Actions:
- Reduce the heating time slightly.
- Ensure the heater is not too close.
- Don’t just rely on the sheet to sag.
- If bubbles continue to appear in the same area, then recalibrate the heating element.
Uneven Heating
If one area of the sheet is heating up quicker than another then that area will soften first this will lead to uneven stretching in the warmer areas. This can cause bubbles and weak points in the thermoformed appliance.
A point to note is that this defect will usually turn up in similar locations, such as the centre of the sheet or under a specific heater zone.
Actions:
- Check the heating elements for any hot spots or dead areas.
- Ensure the sheet is centred.
- Balance the heater zones if possible.
- Keep a log of where the defects are appearing and what the machine settings are.
Incorrect Pressure or Delayed Transfer
Consider optimum conditions in all the above mentions steps, but once the sheet has reached the ideal forming stage the sheet needs to be formed immediately. Any delay will lead to a change in the sheet temperature and will lead to uneven forming and inclusion of bubbles or weak spots
If the pressure is low, uneven or delayed this can cause air pockets, poor forming and uneven distribution. Taglus recommend using pressure of more than 4.2bar for pressure forming, however pressure can vary between machines.
Actions:
- Ensure the pressure is as recommended by the material manufacturer.
- Check for any air leaks, blockages and uneven sealing of the chamber.
- Form the sheet immediately after heating.
- Do not open the chamber or touch the sheet until forming is complete.
Model Preparation Issues
Whilst bubbles can be caused by the sheet or the workflow, but if everything is optimised to the best and bubbles are persisting then we need to look at the model on which the sheets are being thermoformed. Taglus recommends checking for bubbles or air pockets in the printed model, clean edges, fully cured, no warping and fully dry prior to thermoforming.
Humidity or condensation present on the working model can also cause issues with the sheet forming.
Actions:
- Use fully dry and cured models.
- Check for any air pockets on the surface.
- Ensure the model edges are clean and sharp.
- Have a standardised workflow for preparing the models each time.
How to Prevent Bubbles: A Lab-Ready Checklist
Building a reliable and consistent protocol is the key. A few thing labs can do to avoid common errors:
- Store sheets in original sealed packaging.
- Follow material-specific heating time, temperature, and pressure settings.
- Use dry, fully cured, clean models.
- Calibrate and inspect thermoforming machines regularly.
- Transfer and form the sheet immediately after heating.
- Allow complete cooling before removal.
- Inspect each aligner for clarity, fit, thickness, and surface quality.
Troubleshooting Bubbles by Symptom
| Observation | Likely cause | First corrective action |
| Small bubbles scattered across the sheet | Moisture absorption or overheating | Use a fresh sealed sheet; reduce heating time slightly; check storage humidity. |
| Bubbles in the same location every cycle | Uneven heating or heater hot spot | Inspect and recalibrate the heating element; adjust heater distance or zones. |
| Bubbles with poor adaptation | Underheating, delayed transfer, or insufficient pressure | Adjust heating in small increments; form immediately; verify pressure and seals. |
| Folds plus bubbles or haze | Excessive heating or miscalibrated heater | Reduce heating time and recalibrate the heating element. |
| Bubbles after a new material batch | Material handling or incorrect machine settings | Confirm batch instructions and update the machine program for that sheet. |
| Bubbles only on complex models | Localized stretching, trapped air, or model geometry issues | Check model quality, venting/vacuum path, and pressure consistency. |
If similar problems are getting repeated, then there is a chance it’s a process problem instead of a material problem.
Quality Control
A concise list to make sure we are not compromising on our quality no matter how much we trust our workflows.
- Visual inspection under good lighting.
- Checking clarity, surface finish, fit, and thickness distribution.
- Keeping a simple reject log.
- Record the defects in the reject log and review it monthly. If some problem is repeating itself in this log it needs to be investigated.
Quality control protects both, the brand with its reputation and prevents the patient with getting a substandard product.
How Material Choice Reduces Bubble Risk
Material selection matters. Sheets with low water absorption are less likely to develop steam-related bubbles, while protective lamination can help shield the material from environmental exposure before and during processing. Taglus highlights both low water absorption and dual protective lamination as features intended to support clearer thermoformed results. A sheet which gives you consistent result is more important in the production long run. That is why labs should evaluate materials under their own workflow and not under ideal conditions.
FAQs
- Can bubbles in a thermoformed aligner be repaired?
No. Bubbles in a formed sheet cannot be repaired. Once formed it needs to be discarded. It is a good idea to log them into your defect logs so that you can keep a tab on repeatable defects.
- Do bubbles always mean the sheet was overheated?
No! Bubbles can occur due to a variety of issues in your process, including moisture, incorrect/uneven heating, late forming or issues with the model surface.
- Why do bubbles occur more in humid conditions?
More moisture can be absorbed into exposed materials in a humid environment. This can cause steam to form when heated causing bubbles. This will affect clarity and strength.
- How can I stop bubbles from forming repeatedly in the same area?
If bubbles are occurring on the same area that means, it’s a local procedure problem rather than a material issue. If such a case occurs, we need to resolve it stepwise checking for problems in the heating parameters, thermoforming pressure and time and then the handling of the sheets and the environment that they are being formed in.
- How can I select an aligner sheet which will not cause bubbles?
Use low moisture sheets, with protective masking and clear thermoforming instructions. Trapped moisture will cause bubbles within the sheet so using low moisture sheets will allow for more forgiveness in humid labs or if there are delays in your workflow.
Before making the change run a small trial using the same model, machine, operator and heating cycle. Check that there are no bubbles, hazing, good fit and even thickness.
Ensure sheets are kept sealed until use, follow manufacturers guidelines for storage and handling and choose a material that will give a reliable result in your lab.
Conclusion
Bubbles indicate that there is an issue to be addressed in your thermoforming process. By ensuring you store your sheets consistently, have calibrated equipment, correct heating, immediate forming and correct model preparation you will greatly reduce rejections. If you would like to reduce rejections caused by bubbles then Taglus aligner sheets could be the solution for you.
Have Questions?
 Talk to us on WhatsApp
Know More About Us
SignUp To Our Newsletter And Get To Know More About Taglus

Taglus is the global industry leader in the manufacturing of innovative clear Aligner and retainer thermoplastic sheets.

Copyrights@taglus-2026
*Taglus is a trademark of Vedia Solutions
Leave a Reply